
Table of Contents
- Why Clean AC Condenser Coils and What Dirty Coils Cost You
- Safety First: Electrical and Personal Precautions Before You Start
- Tools, Supplies, and Choosing the Right Coil Cleaner
- Step-by-Step: Cleaning Condenser Coils with a Garden Hose
- Signs of Dirty AC Condenser Coils You Should Not Ignore
- How Often to Clean AC Condenser Coils for Your Climate and Setup
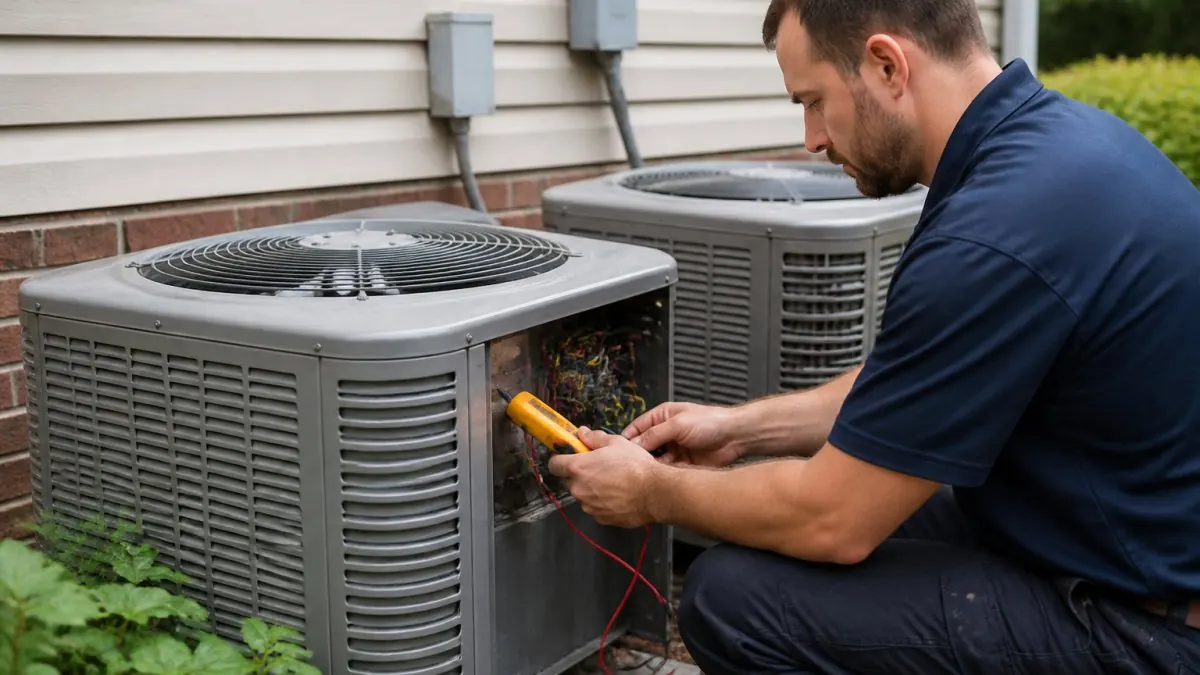
- When to Stop and Call a Licensed HVAC Technician in New Jersey
- Frequently Asked Questions
Last Updated: October 29, 2026
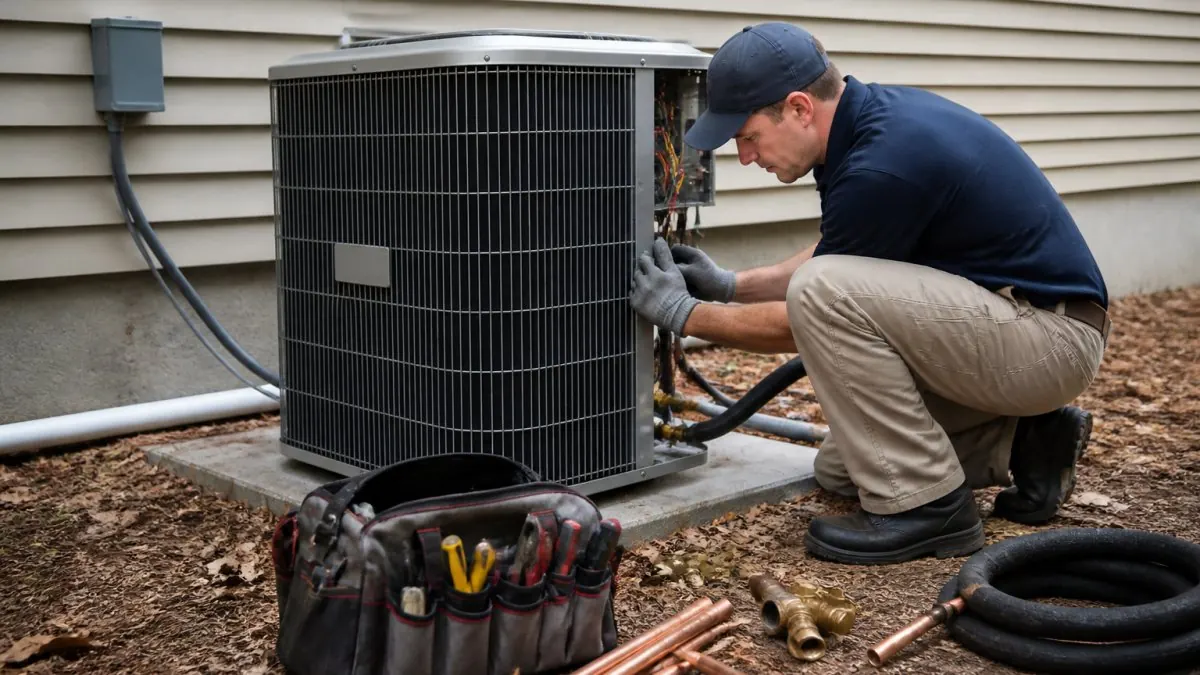
Dirty AC condenser coils quietly make your system work harder, and learning how to clean AC condenser coils safely is one of the most useful things a homeowner can do. An outdoor unit choked with leaves, grass clippings and dust can still be running but not cooling well. Knowing how to clean AC condenser coils safely is a manageable job for most homeowners, as long as you respect the electricity and avoid the few mistakes that damage the fins.
This guide walks through the process in seven steps. It also covers when the job is better left to a licensed technician, because some problems look like dirty coils but aren't.
Why Clean AC Condenser Coils and What Dirty Coils Cost You
The condenser is the outdoor part of your central air system. It releases the heat your indoor air picks up. The coil is a grid of thin metal tubes with aluminum fins, and air has to pass across those fins to carry heat away.
When the fins clog, airflow drops. The system runs longer to reach the set temperature, which uses more electricity. It also puts extra strain on the compressor, the most expensive part to replace.
Dirty coils are easy to overlook because the unit still runs. Cleaning restores the surface area that moves heat, so the system can do its job with less effort.
Safety First: Electrical and Personal Precautions Before You Start
Your condenser runs on high-voltage power, and that is the main hazard in this job.
Step 1: Shut off the thermostat. Set the thermostat to OFF so the system does not try to start while you work.
Step 2: Open the disconnect. Most condensers have a weatherproof disconnect box mounted on the wall within sight of the unit.
Step 3: Switch the breaker. Find the dedicated breaker for the outdoor unit in your main electrical panel and switch it to OFF.
Step 4: Verify the unit is de-energized. Do not assume. Try to start the system at the thermostat and confirm the outdoor unit does not respond.
Step 5: Dress for the job. Wear work gloves, safety glasses, and closed-toe shoes. The aluminum fins have sharp edges and cut skin easily, and coil cleaner can splash.
Step 6: Keep water and tools away from electrical parts. Do not spray near the disconnect, the control box, the capacitor, or any exposed wiring.
Design-specific access cautions. How you access the coil depends on the unit:
- Top-discharge units, the fan is on top and the coil wraps the cabinet. Removing the top grille exposes the fan; never reach into the fan opening, and do not remove the fan unless you are trained to do so.
- Side-discharge units, the coil is on one or more sides behind removable panels. Remove only the panels the manufacturer intends to be removed; some panels are structural or seal the refrigerant circuit.
- Microchannel coils, these are flatter and more fragile than traditional fin-and-tube coils. They are easier to bend and harder to straighten, so use lower pressure and avoid brushing aggressively. If you are unsure which coil type you have, clean with water only and do not remove panels.
Never stand on the unit or lean on the cabinet.
Tools, Supplies, and Choosing the Right Coil Cleaner
You will need only a few basic items:
- A garden hose with a gentle spray nozzle
- A soft-bristle brush or a fin comb for straightening bent fins
- A flashlight to check the coil surface
- A bucket for cleaner mixing, if needed
- A drop cloth or tarp to protect nearby plants
- Compressed air or a shop vacuum for loose debris
Water-only vs. chemical cleaner: how to decide. Most routine cleaning can be water-only. Plain water from a hose lifts dust, pollen, cottonwood fluff, grass clippings and loose dirt without any risk to the aluminum fins or the surrounding soil.
Cleaner selection and compatibility. Look for a product explicitly labeled for condenser coils and safe for aluminum fins. Two common categories:
- No-rinse / foaming cleaners, these expand into the fins, lift grime, and are designed to be left in place or lightly rinsed. They are the gentlest option for homeowner use.
- Rinse-required alkaline cleaners, stronger on grease, but they must be thoroughly rinsed or residue can attract new dirt and, over time, corrode the fins.
Check the label for the coil material. Aluminum fins and copper tubes are the standard construction; avoid any product that is not stated as safe for both.
Dilution and dwell time. Follow the label exactly. Concentrated cleaners are typically mixed with water in a bucket or sprayer at the ratio printed on the bottle; using a stronger mix does not clean faster and increases the risk of etching the fins.
Rinsing and runoff. Rinse from the inside of the unit outward with a gentle stream so dirt is pushed out of the fins rather than packed deeper. Direct runoff away from the disconnect, control box, and foundation, and pre-wet or cover nearby plants with a tarp before applying any cleaner.
Step-by-Step: Cleaning Condenser Coils with a Garden Hose
Work through these steps in order with the power still off.
- Remove the outer cover or protective grille. Unscrew or unclip the grille. Set the screws aside where they won't get lost.
- Clear leaves and loose debris. Pull out leaves, twigs and grass clippings by hand. Use compressed air or a soft brush to remove dust from the surface.
- Inspect the condenser coil. Look for bent fins, oily film and heavy buildup. Note any damage you see.
- Apply cleaner if needed. Spray the coil lightly with the coil cleaner and let it sit for the time listed on the label, usually a few minutes.
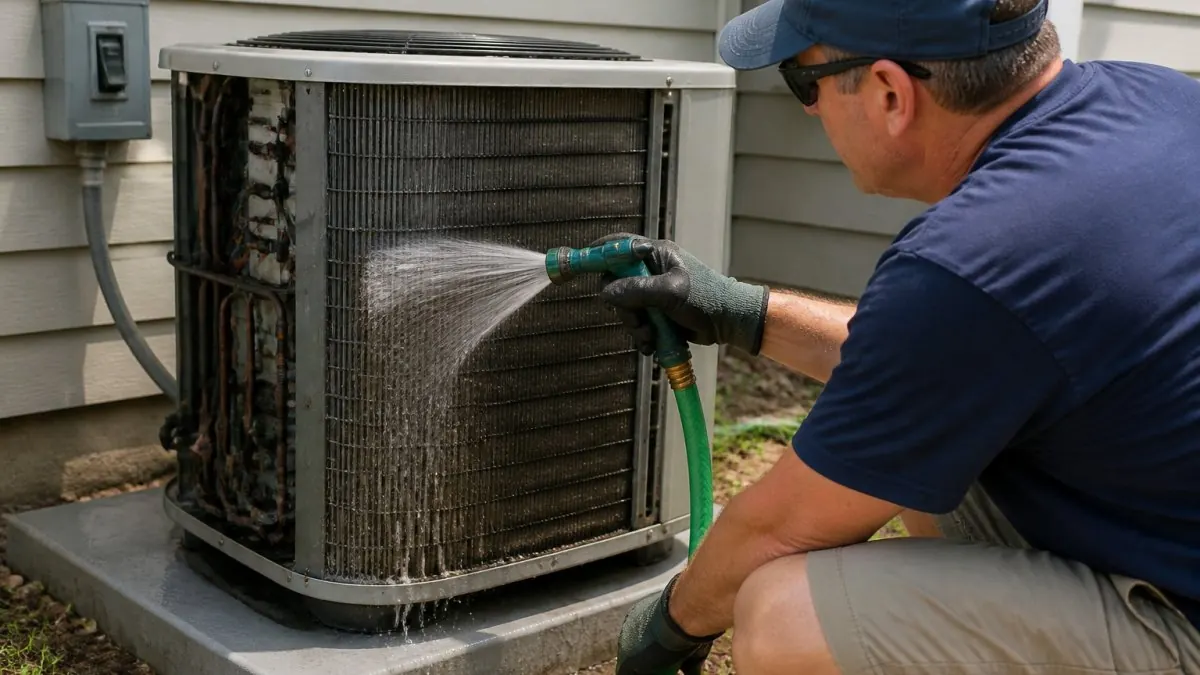
- Rinse with a gentle hose stream. Spray from the inside of the unit outward, so you push dirt away from the fins instead of packing it deeper. Use low water pressure.
- Let it dry and check the result. Give the unit time to dry fully. Shine a flashlight through the fins. You should see light coming through in most places.
- Reassemble the cover and restore power. Put the grille back, switch the breaker and disconnect back on, then run the system and check that it starts normally.
Avoiding Bent Fins and High-Pressure Damage
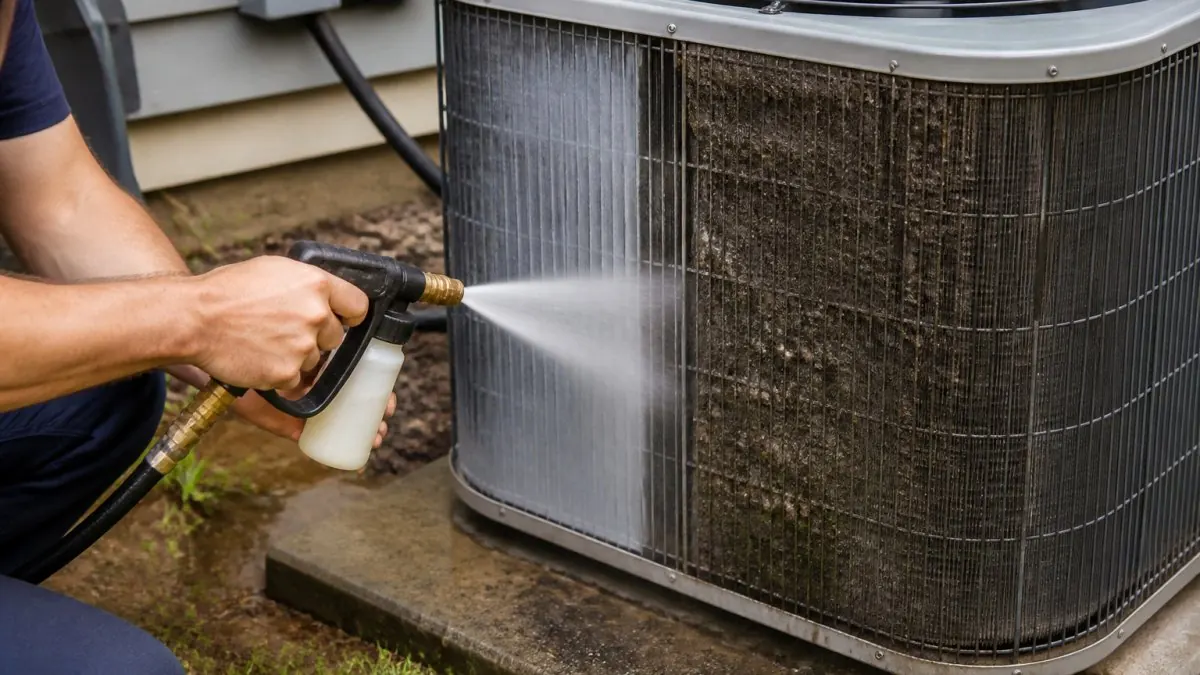
Aluminum fins bend easily. A pressure washer or a high-pressure nozzle can flatten them within seconds, which reduces airflow even after the coil is clean. Keep the nozzle on a gentle setting and stay several feet back. If you find bent fins, a fin comb can carefully straighten small areas. Do not force fins on heavily damaged sections, because you can tear them. Maintaining clear airflow through these straightened fins helps prevent moisture buildup that can otherwise reduce HVAC mold throughout the entire system.
Watch out: never use a pressure washer on a condenser coil. A few seconds at high pressure can flatten fins across the whole coil, and the airflow loss can be worse than the dirt it removed.
The seven steps below cover the cleaning process itself, from removing the cover to restoring power.
| Step | What to do | Time or frequency |
|---|---|---|
| Remove outer cover | Unscrew or unclip the grille | Before cleaning |
| Clear debris | Pull leaves by hand, use air or soft brush | Before cleaning |
| Inspect coil | Look for bent fins, oily film, buildup | Before cleaning |
| Apply cleaner | Spray lightly, let sit per label | A few minutes |
| Rinse | Hose from inside outward, low pressure | Gentle stream |
| Dry and check | Let dry, shine a flashlight through fins | Until fully dry |
| Reassemble | Replace cover, restore breaker and disconnect | Then run the system |
Signs of Dirty AC Condenser Coils You Should Not Ignore
Several warning signs suggest the coil needs attention:
- The system runs constantly but the house stays warm
- Electricity bills rise without a clear reason
- The outdoor unit looks covered in leaves, dust or grass
- The unit runs hotter than usual or shuts off on high-temperature protection
- Fins look matted, bent or coated with a dark film
- Water drips or pools around the unit
Some of these signs also point to refrigerant leaks, failing fans or electrical faults. If cleaning does not improve performance, get a professional inspection rather than adding more cleaning steps.
How Often to Clean AC Condenser Coils for Your Climate and Setup
There is no single schedule that fits every home. A common approach is to inspect the coil every few months and clean it when debris builds up. Homes with trees, lawns that are mowed often, or dusty conditions usually need more frequent cleaning. A unit in a shaded, paved area may need it less often.
Check the coil at the start of cooling season and again at mid-summer. Heavy use makes dirt matter more, so inspect more often during peak months. Also clear vegetation at least two feet around the unit at all times, which keeps airflow open and reduces the amount of debris that reaches the coil.
When to Stop and Call a Licensed HVAC Technician in New Jersey
Some jobs should not be done by the homeowner. Call a licensed technician if you notice any of the following:
- You are unsure the power is fully off, or the disconnect looks damaged
- The unit has a raised stand, sits in a tight space, or needs ladder access
- You see burned wires, a burning smell, scorch marks or water inside the control box
- The coil is heavily damaged or fins are torn in large areas
- The system still underperforms after a proper cleaning
- You suspect a refrigerant leak, such as hissing sounds or ice on the lines
A licensed contractor can also check the capacitor, fan motor and refrigerant charge, which you cannot safely do yourself. Our HVAC in NJ service guide explains how to find a licensed local HVAC service provider. For urgent problems, Rich's Plumbing Heating & Air Conditioning provides emergency service, and you can contact us for current availability and details. Learn when to call professionals and what HVAC repair service involves.
Frequently Asked Questions
How do you safely clean AC condenser coils?
Start by switching off power at the outdoor disconnect and the breaker, then wait a few minutes before touching anything. Remove leaves and loose debris by hand, brush the coil lightly in the direction of the fins, and apply a no-rinse coil cleaner if the buildup is oily or heavy. Rinse gently from the inside out with a garden hose on a low setting, let the unit dry fully, and restore power only after the panels are back in place. Avoid high-pressure water, which can bend the aluminum fins and reduce airflow.
Can I clean my AC condenser coils myself?
Many homeowners can handle a basic cleaning with a garden hose, a soft brush, and a fin comb, provided the power is off and the unit is accessible. Work carefully around the electrical components and never open the sealed cabinet or the compressor area. If the coils are heavily caked with grime, the fins are already bent, or the unit shows signs of refrigerant or electrical problems, stop and call a licensed HVAC technician. Rich's Plumbing Heating & Air Conditioning can help with maintenance questions; contact us for current services.
Can I use a garden hose to clean condenser coils?
Yes, a garden hose is the safest and most common method for rinsing condenser coils, as long as you use a gentle, low-pressure spray. Direct the water from the inside of the unit outward so debris is pushed away from the fins rather than packed deeper. Pressure washers are the main cause of bent fins and should be avoided. Rinse until the water runs clear, then allow the unit to air dry before turning the system back on.
How often should AC condenser coils be cleaned?
Most outdoor condenser coils benefit from a light cleaning at least once a year, typically in spring before the cooling season starts. Homes near trees, lawn clippings, or dusty roads may need cleaning two or more times a year. Check the coils monthly during summer and clean them whenever you see visible debris packed between the fins. Regular cleaning helps maintain airflow and cooling performance.