Last Updated: November 1, 2026
Quick Summary
To confirm thermostat calibration, tape a reliable digital thermometer 12 to 18 inches from the thermostat at the same height, run the system off for 30 minutes, and compare readings. A gap of 1°F to 2°F is normal, while 3°F or more means checking placement, dust, and batteries.
- Place the thermometer 48 to 60 inches above the floor, since temperature stratifies below that height.
- Use a digital thermometer rated ±1°F or better and avoid infrared point-and-shoot models.
- Repeat the test morning and late afternoon to tell a consistent gap from a sunlight or vent issue.
- Most residential thermostats list an accuracy of ±1°F or ±2°F in the product manual.
- An offset changes only the display, so treat offsets larger than 3°F as temporary and fix the root cause.
Table of Contents
- What Thermostat Calibration Actually Means
- How to Check Thermostat Accuracy With a Thermometer
- Why Your Thermostat Reading Wrong Temperature Happens
- Signs of a Faulty Thermostat vs. a Calibration Problem
- How to Recalibrate a Thermostat on Common Models
- When Uneven Room Temperatures Point to HVAC Performance
- When to Stop DIY and Call an HVAC Technician
- Schedule a Thermostat and HVAC Check With Rich's
- Frequently Asked Questions
What Thermostat Calibration Actually Means
Thermostat calibration is the process of making sure the temperature your thermostat displays matches the real air temperature in the room.
That drift is more common than most homeowners expect.
Here is the part most guides get wrong: calibration and temperature offset are not the same thing. Calibration is the underlying accuracy of the sensor. Offset is a correction you apply on top of it.
How to Check Thermostat Accuracy With a Thermometer
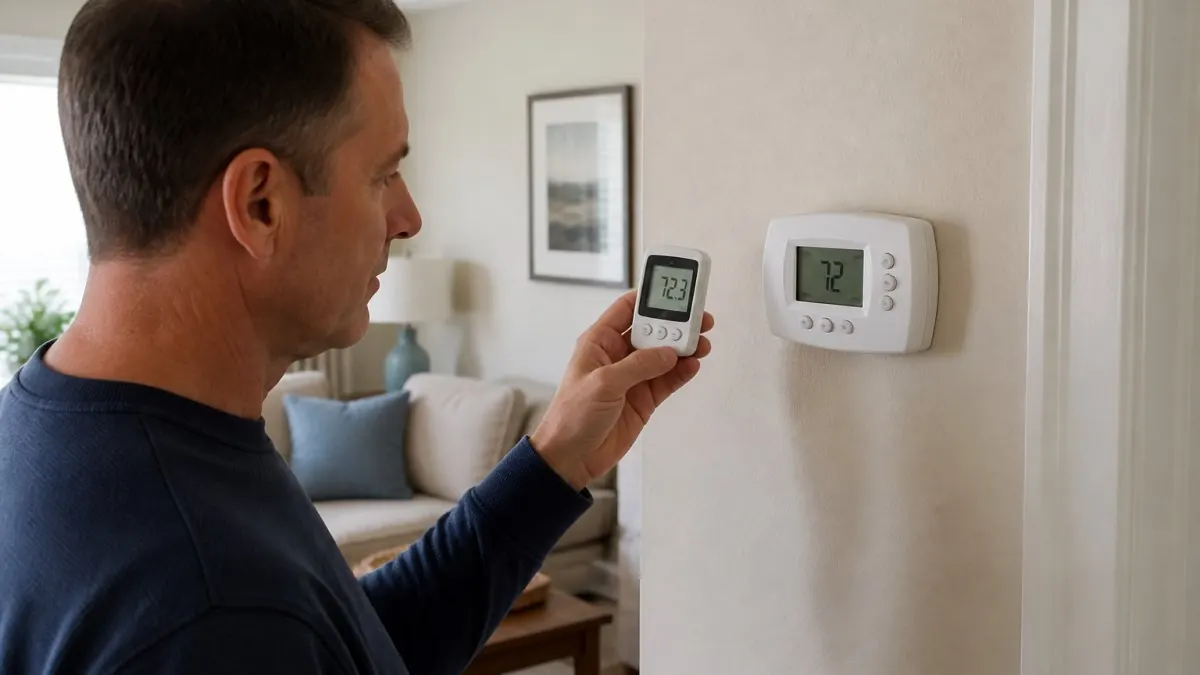
The fastest way to check thermostat accuracy with a thermometer is a controlled side-by-side comparison. Tape a reliable digital room thermometer near the thermostat, let both settle for 30 minutes with the system off, then compare the two readings.
The 30-Minute Repeatable Test
Follow these steps for a clean, repeatable result:
- Turn the HVAC system off at the thermostat so no heating or cooling cycle runs.
- Place a digital room thermometer 12 to 18 inches from the thermostat, at the same height.
- Keep both out of direct sunlight and away from vents, lamps, and exterior doors.
- Wait 30 minutes so the air mixes and both devices settle.
- Record both readings at the same moment.
- Repeat the test at a different time of day to rule out a one-off.
What Counts as Normal Temperature Variance
A 1°F to 2°F difference between the thermostat display and a separate room thermometer is generally considered acceptable for most residential systems. Anything within that window means your thermostat is reading close enough to trust.
Keep in mind that no two sensors read identically. Even two brand-new digital thermometers can disagree by a degree. The test is about spotting a meaningful gap, not chasing a perfect match.
A More Precise Protocol for Confident Results
Most guides stop at "compare the readings," but a repeatable test needs tighter controls. Use a digital thermometer with a stated accuracy of ±1°F or better, many inexpensive kitchen or room thermometers meet this.
For the most reliable comparison, run the test twice: once in the morning before the system has run heavily, and once in the late afternoon. If the gap is consistent across both tests, you have a calibration or placement issue.
How to Tell If the Gap Is Real
A single test can be thrown off by a draft, a recent shower, or a oven running nearby. Before you adjust anything, confirm the gap with a second thermometer.
Also check the thermostat's own specification. Most residential thermostats list an accuracy of ±1°F or ±2°F in the product manual.
Here are the key numbers to keep in mind when running the side-by-side thermometer test.
| Item | Value | Note |
|---|---|---|
| Settling time with system off | 30 minutes | Let air mix and both devices settle |
| Thermometer distance from thermostat | 12 to 18 inches | Place at the same height |
| Thermometer height | 48 to 60 inches above floor | Temperature stratifies below this |
| Normal gap | 1°F to 2°F | Acceptable for most residential systems |
| Gap needing attention | 3°F or more | Check placement, dust, and batteries |
| Thermometer accuracy | ±1°F or better | Avoid infrared point-and-shoot models |
| Typical thermostat spec accuracy | ±1°F or ±2°F | Listed in the product manual |
Why Your Thermostat Reading Wrong Temperature Happens
A thermostat reading wrong temperature usually comes down to one of two causes: the sensor is being fooled by its surroundings, or the hardware itself is dirty or failing. The first is common and free to fix. The second needs a closer look.
Placement, Sunlight, and Drafts
Where the thermostat sits shapes what it senses. A unit on a wall that catches afternoon sun will read high and shut off the AC early. According to the U.S. Department of Energy's guidance on thermostat placement, mounting location affects both comfort and energy use, so keep the device on an interior wall away from heat sources and direct sun.
Dust, Batteries, and Loose Wiring
Dust buildup inside the faceplate coats the sensor and slows its response. Weak batteries cause erratic readings and display glitches on digital models. Loose wiring at the terminals can cause the unit to drop power or misread. A common mistake is replacing the whole thermostat when a fresh set of batteries and a soft brush would have solved it.
Signs of a Faulty Thermostat vs. a Calibration Problem
The difference between a faulty thermostat and a calibration problem shows up in behavior, not just numbers. A calibration issue means the reading is off but the unit still responds.
Watch for these signals:
- Calibration problem: display is off by a few degrees, but heating and cooling still turn on and off at the set temperature.
- Faulty thermostat: system won't turn on, short-cycles, or the screen goes blank.
- Faulty thermostat: random clicking with no heating or cooling cycle.
If you are seeing the second group, the fix is likely a repair or replacement, not a calibration tweak. Our guide on signs your HVAC system needs professional attention walks through the red flags that point to a bigger issue.
How to Recalibrate a Thermostat on Common Models
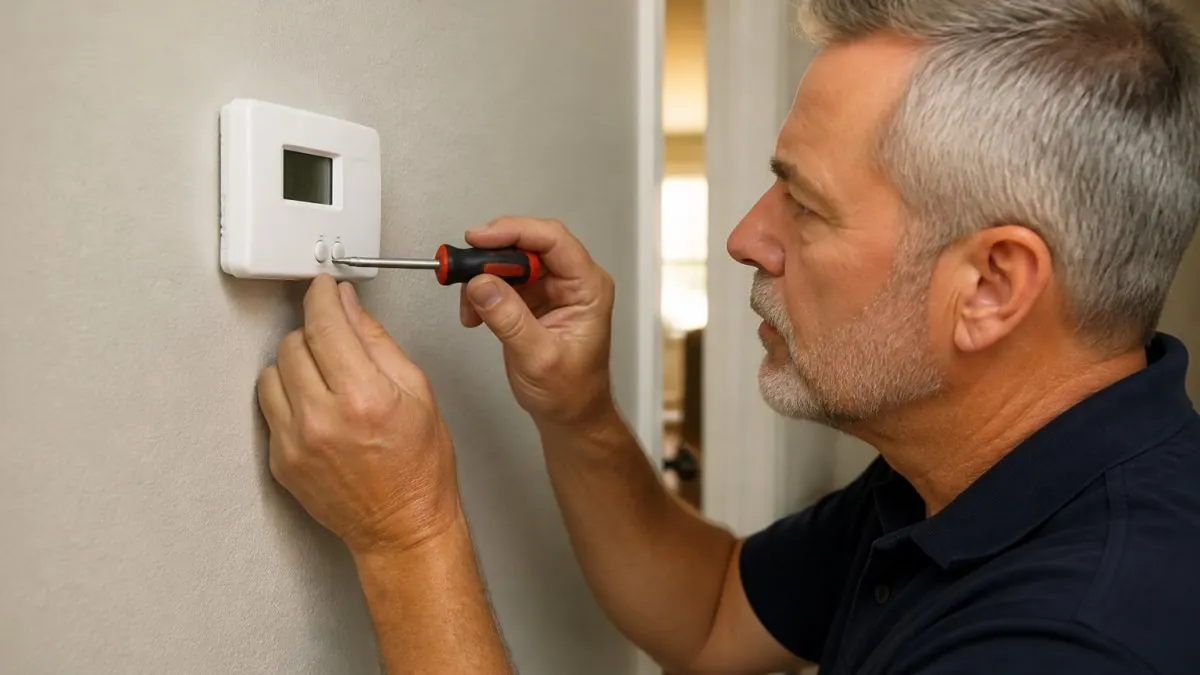
How you recalibrate a thermostat depends on the model. Some digital and programmable units have a calibration or offset menu built in. Others have no adjustment at all, and the fix is placement, cleaning, or replacement. Before you open any menu, understand the difference: a temperature offset tells the thermostat to display a number that is a few degrees different from what its sensor reads.
Digital, Programmable, and Smart Thermostats
Most digital and programmable thermostats hide the offset setting in an installer or advanced menu. The general path looks like this:
- Open the settings or installer menu, often by holding a button for several seconds.
- Find the calibration, offset, or "temperature adjustment" option.
- Nudge the offset 1°F at a time in the direction of the gap you measured.
- Save, then rerun the 30-minute test to confirm.
Smart thermostats often skip manual offset entirely. They use remote sensors placed in the rooms that matter, so the reading reflects where you actually sit. If your unit supports remote sensors, adding one to an upstairs bedroom usually beats fiddling with offset numbers.
A mechanical thermostat with a dial has no offset menu. If it reads wrong, cleaning the contacts and checking the anticipator setting is the practical route, and replacement is often simpler.
Model-Specific Adjustment Paths
Exact menu names vary, but here is how the adjustment typically appears on common residential platforms:
- Honeywell Home and Resideo models: Look for "Calibration" or "Temp Offset" in the installer setup menu, often accessed by holding the up and down arrows together for several seconds. The offset range is usually ±3°F to ±5°F in 1°F steps.
- Ecobee: Offset is adjusted per sensor in the thermostat's sensor settings. Ecobee also lets you exclude a sensor from comfort calculations, which is often more useful than an offset if one room runs hot.
- Google Nest: Nest does not expose a manual temperature offset in the consumer app. The practical fix is placement, cleaning, or adding a remote temperature sensor.
If you cannot find the offset setting in your manual, do not guess at button combinations. A wrong sequence can put the thermostat into a test mode that runs the equipment continuously.
When Offset Adjustment Is the Wrong Fix
An offset is a cosmetic correction: it changes the number on the screen, not the sensor's accuracy. If the thermostat reads 70°F when the room is 74°F, setting a +4°F offset makes the display match, but the thermostat still senses the same air.
If your offset is larger than 3°F, treat it as a temporary measure and address the root cause.
Mechanical Thermostats and the Anticipator
On a mechanical dial thermostat, the small anticipator setting, a slider or dial inside the unit, controls how early the system cycles off to prevent overshoot. If the anticipator is set too high, the room overshoots the set point; too low, and the system cycles too often. Adjusting it is a trial-and-error process: move it one mark, run the system through a full cycle, and observe.
When Uneven Room Temperatures Point to HVAC Performance
Uneven temperatures are not always a thermostat problem. If the thermostat reads correctly but one room stays hot while another stays cold, the issue is airflow, ductwork, or system balance, not calibration.
This is where a lot of homeowners get stuck. For a focused look at that pattern, see our guide on fixing uneven temperatures in upstairs bedrooms. If you want the full step-by-step approach to balancing airflow and spotting duct problems, our guide to fixing uneven heating covers it room by room.
When to Stop DIY and Call an HVAC Technician
Call a technician when the gap survives cleaning, new batteries, and a placement fix, or when the thermostat stops responding to the set temperature altogether. Those are signs the sensor, wiring, or the HVAC system itself needs a trained eye.
Stop DIY and call a pro if you see any of these:
- The thermostat reads correctly but the system won't hold the set temperature.
- You smell burning or see scorched wiring at the terminals.
- The breaker trips when the system starts.
Electrical work at the thermostat terminals carries real risk. Our overview of common HVAC problems and how regular maintenance prevents them explains which issues a routine check-up catches early.
Schedule a Thermostat and HVAC Check With Rich's
A thermostat that reads true is the starting point for real comfort, and a quick professional check settles the question fast.
Our team can test your thermostat, check placement and wiring, and confirm whether the issue is calibration or system performance. The company backs its work with a 100% satisfaction guarantee.
Get started with Rich's Plumbing Heating & Air Conditioning and get your home back to even, reliable temperatures. You can review the company's complete HVAC service guide for New Jersey homeowners before you book.
Frequently Asked Questions
How do I recalibrate my thermostat step by step?
First run the thermometer test to confirm the gap. Place a separate room thermometer near the thermostat, wait 30 minutes, and compare readings. If they differ by more than 2 degrees Fahrenheit, open the settings menu and look for a calibration or temperature offset option. Enter the difference as a positive or negative number, save, and retest. Mechanical thermostats use a calibration wheel or lever behind the faceplate instead. If no offset option exists, the unit may not support user calibration and needs a technician.
Why does my house feel colder than my thermostat says?
A thermostat reads the air directly around it, not the whole house. Direct sunlight, drafts, lamps, or a nearby vent can push the sensor reading off by several degrees Fahrenheit. Rooms far from the thermostat, upstairs bedrooms, or rooms above a garage often run cooler than the set temperature. Comparing the thermostat display with a separate room thermometer in the affected room shows whether the gap is a thermostat calibration issue or an airflow and balancing problem.
Can I adjust thermostat calibration myself?
Yes, for most digital, programmable, and smart thermostats. The adjustment is a small offset, usually within plus or minus 3 to 5 degrees Fahrenheit, entered in the settings menu. Mechanical thermostats with a calibration wheel can also be adjusted by hand. Stop and call a licensed HVAC technician if you see loose wiring, scorched contacts, repeated battery drain, or a reading that drifts more than 5 degrees after adjustment, since those point to a failing unit rather than a calibration issue.
When should I call an HVAC technician about thermostat accuracy?
Call a technician when the thermostat reads more than 5 degrees Fahrenheit off after a proper thermometer test, when the offset setting will not hold, or when you notice short cycling, no click at the set point, or rooms that never reach temperature. Those symptoms often trace back to the HVAC system rather than the thermostat. A licensed technician can test the sensor, wiring, and system response together and confirm whether thermostat calibration or a repair is the real fix.
A thermostat that reads a few degrees off can make every room feel wrong, and guessing at the fix usually wastes time. If your test points to more than a simple offset adjustment, Rich's Plumbing Heating & Air Conditioning can confirm the cause and handle the repair. Our licensed team offers fast response, free estimates on most services, and a 100% satisfaction guarantee. Get started with Rich's Plumbing Heating & Air Conditioning and schedule a thermostat and HVAC check today.